



TechfoAnalyzer
07 August 2026
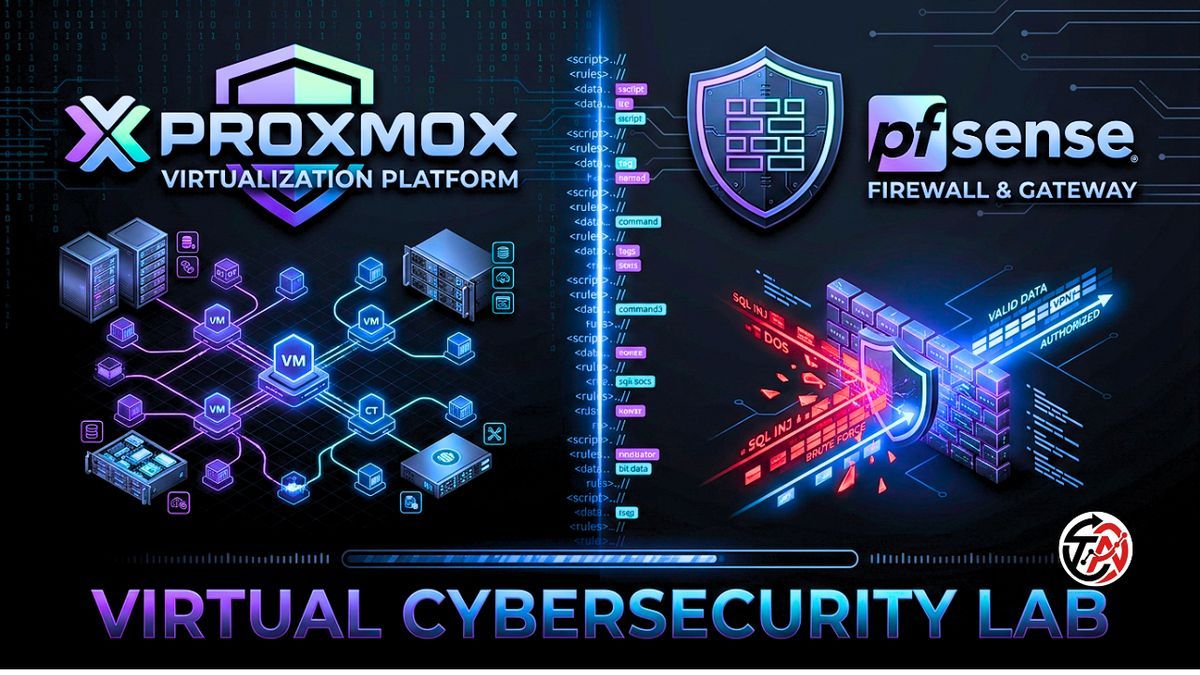
Most tutorials lie to you. They tell you to spin up VirtualBox or VMware Workstation, drop Kali Linux next to a vulnerable VM, and call it a "home lab."
That isn't a lab; it's a toy.
Running attack tools on a hosted desktop hypervisor hides the harsh reality of enterprise networking—routing table chaos, firewall drop policies, VLAN tags, and real packet inspection. You're just clicking buttons in a sandbox, completely insulated from how traffic actually behaves when something breaks. If you want to build actual security skills, you need to simulate an enterprise network from the metal up. That means putting a Type-1 hypervisor like Proxmox VE on dedicated hardware and handing routing and perimeter security over to pfSense.
Here is how you tear down the amateur setup and build a production-grade cybersecurity firing range.
Software sandbox apps sitting on your main laptop OS fool you into a false sense of confidence. They abstract away physical interface mapping, bridge mechanics, and real gateway isolation. When you run an attack in a local desktop hypervisor, what are you actually testing? You aren't fighting network security controls—you're just shooting targets in a dark room with the safety on.
A bare-metal home lab forces you to handle the exact problems enterprise environments present every single day:
True Isolation
An exploit escape or runaway ransomware sample won't compromise your personal machine, home storage, or Wi-Fi.
Network Visibility
You see raw, un-sanitized packets crossing real interfaces—no host OS filtering getting in the way.
Realistic Topologies
You learn how firewalls actually react to port scans, payload delivery, and unauthorized egress attempts.
Why these two? Because consumer tools lack the depth you need to learn real security.
Type-2 hypervisors sit on top of bloated consumer operating systems like Windows or macOS, leeching hardware performance. Proxmox Virtual Environment (VE) is a bare-metal Type-1 hypervisor built directly on top of Debian Linux. It talks directly to your CPU, RAM, and storage disks—giving you bare-metal performance, LXC container support, and complete, unfiltered control over Linux bridge networking.
Consumer routers, on the other hand, give you zero visibility and laughable control. pfSense CE is an open-source, enterprise-grade firewall and router built on FreeBSD. Dropping pfSense inside Proxmox constructs a dedicated hardware-enforced boundary between your daily home network (WAN) and your dangerous security playground (LAN).
Can you run a lab on an old laptop with 8 GB of RAM? Technically, yes. Will it be a miserable, slow experience that crashes the moment you launch a second target VM? Absolutely. Virtualization eats memory for breakfast, and disk speed dictates whether your lab feels like a snappy enterprise environment or a complete crawling mess.
| Component | Hardware Bare Minimum | Real-World Standard | Reality Check |
|---|---|---|---|
| CPU | 4 Cores (VT-x/AMD-V) | 8+ Cores / 16 Threads | Virtualization extensions must be toggled on in your BIOS/UEFI—no exceptions. |
| RAM | 16 GB DDR4 | 32 GB to 64 GB DDR4/DDR5 | Proxmox needs ~2 GB, pfSense takes 2 GB, Kali eats 4 GB, and Windows targets burn 4–8 GB each. Memory fills fast. |
| Storage | 256 GB SATA SSD | 1 TB NVMe SSD | HDDs are dead for VM labs. Spinning disks will cripple your system under concurrent disk writes. |
| NIC | 1x Gigabit Port | 2x Gigabit Ports | Dual NICs simplify physical separation. Single NIC setups require virtual bridge gymnastics, though both work. |
Gather your installer ISOs beforehand. Download them directly to your personal workstation so you can upload them straight into Proxmox:
Proxmox VE ISO (Latest stable release)
pfSense CE ISO (AMD64 architecture, ISO installer file)
Kali Linux ISO (64-bit installer, not the live boot image)
Target OS Images (Metasploitable, VulnHub images, or an unpatched Windows ISO)
Wipe the host disk completely. Proxmox requires dedicated control over the physical machine it runs on.
Flash the ISO
Burn the Proxmox ISO to a USB drive using Rufus or Ventoy.
Boot the Host
Plug the USB into your dedicated PC/server, smash your BIOS key (F2, F11, or Del), enable Intel VT-x / AMD-V, set boot priority to the USB drive, and boot.
Run the Installer
Select Install Proxmox VE.
Pick your target SSD/NVMe drive.
Set your timezone, country, and a strong root user password.
Set Up Management IP Networking
Management Interface: Select your active physical Ethernet port (e.g., eth0 or eno1).
Hostname: pve-lab.local
IP Address: Assign a static IP inside your current home router's range (e.g., 192.168.1.250).
Gateway: Your regular home router IP (e.g., 192.168.1.1).
DNS: 1.1.1.1 or your local gateway.
Hit Install, pull the USB drive when prompted, and let the host reboot.
Head over to a workstation on your standard home network, open a browser, and navigate to:
(https://192.168.1.250:8006) (Swap in the static IP you assigned)
Ignore the browser's self-signed SSL warning—you don't need a public CA certificate for an internal lab interface. Log in with user root and the password you set during installation.
Most beginners ruin their setups right here. Why? They stick all their virtual machines on the same flat network switch, leaking attack traffic directly into their home network and risking their personal devices.
You need two distinct virtual switches (Linux Bridges in Proxmox) to separate your outer home network from your dangerous internal targets:
Physical Home Router (WAN: 192.168.1.x)
          │
     [ vmbr0 ] (WAN Interface - Connected to Physical Network)
          │
   ┌──────┴──────┐
   │ pfSense VM  │
   └──────┬──────┘
          │
     [ vmbr1 ] (Isolated LAN - No Physical Wire Attached)
          │
   ┌──────┴───────────────┐
   │                      │
┌──┴──────────┐    ┌──────┴───────┐
│ Kali Linux  │    │ Target VMs   │
│ (Attacker)  │    │ (Victims)    │
└─────────────┘    └──────────────┘
Navigate to Proxmox Node > Network.
Examine vmbr0: This default bridge links directly to your physical Ethernet card. It serves as the WAN interface for pfSense and keeps your Proxmox management interface accessible.
Build vmbr1 (The Air-Gapped Internal Bridge):
Click Create > Linux Bridge.
Name: vmbr1
IPv4/CIDR: Leave empty.
Bridge Ports: Leave completely empty—this parameter is critical. Omitting a physical interface detaches vmbr1 from the outside world, creating a closed virtual switch inside host memory.
Comment: Isolated Lab LAN
Click Create, then click Apply Configuration at the top of the menu.
Inside the Proxmox Web GUI, go to local storage > ISO Images > Upload. Upload your pfSense, Kali, and target OS files straight into Proxmox.
Hit Create VM in the top right.
General: Name it pfSense-Gateway, VM ID 100.
OS: Point to your uploaded pfSense ISO image.
System: Keep default parameters.
Disks: 32 GB disk space, Storage local-lvm, Bus/Device VirtIO Block.
CPU: Give it 2 Cores, set Type to host.
Memory: Allocate 2048 MB (2 GB).
Network (WAN): Pick Bridge vmbr0, Model VirtIO (paravirtualized).
Finish and create the VM.
Before launching the VM, attach the second virtual switch:
Click pfSense-Gateway VM > Hardware > Add > Network Device.
Select Bridge vmbr1.
Model: VirtIO (paravirtualized).
Click Add.
Start the VM, jump into the Console tab, and run through the FreeBSD installer:
Accept the standard licenses.
Pick Install pfSense.
Choose Auto (ZFS) or Auto (UFS) disk partition schemes.
Complete the wizard, hit reboot, and unmount the ISO from the VM settings.
Once pfSense boots into the console screen, assign your physical virtual interface names (vtnet0, vtnet1):
VLANs needed now? Type n.
WAN Interface: Assign to vtnet0 (attached to vmbr0).
LAN Interface: Assign to vtnet1 (attached to vmbr1).
Apply the settings.
Select Console Option 2 (Set interface(s) IP address).
Choose Interface 2 (LAN).
Set IPv4 address: 10.0.0.1
Subnet Mask: Type 24 (Subnet 255.255.255.0).
For WAN Gateway, press Enter (Skip).
Enable IPv4 DHCP Server on LAN? Type y.
Set IP Pool Range: 10.0.0.100 to 10.0.0.200.
Re-enable HTTP for the web interface if prompted. Type y.
Now, pfSense sits firmly as the router at 10.0.0.1. It hands out IP addresses to anything connected to vmbr1, while keeping that traffic contained inside the isolated internal switch.
You have built the virtual infrastructure. Now, drop in your operating systems.
Create a new VM (ID 101, Name: Kali-Attacker).
Point storage to your Kali ISO image.
Hardware specs: Allocate 4 CPU Cores, 4096 MB RAM, and 60 GB Storage.
Networking: Select Bridge vmbr1. Do not attach Kali to vmbr0.
Boot up, finish the standard Linux installation, and boot into the desktop.
Run ip a in the Kali terminal. You will see an IP address in the 10.0.0.x range handed out directly by pfSense.
Create a VM or import an existing disk image (e.g., Metasploitable, VulnHub image, or an unpatched Windows Server).
Hardware specs: Assign 2 Cores, 2048 MB RAM, and 30 GB Storage.
Networking: Select Bridge vmbr1.
Boot the machine up. It will lease an IP address from pfSense alongside Kali on the 10.0.0.x subnet.
Your attack machine and victim machine now share an isolated layer-2 domain managed by an enterprise firewall gateway. Your personal home devices? Completely invisible and protected on the other side of pfSense.
Never assume your lab architecture works—verify it with actual data.
How do you know your network isolation actually holds up under real traffic?
From your Kali Linux terminal, verify routing and locate your target:
Confirm your gateway is alive
ping -c 3 10.0.0.1Scan the internal lab subnet to locate target IP addresses
nmap -sn 10.0.0.0/24Run an aggressive service discovery scan against your target
nmap -sV -sC -O <TARGET_IP>Open a browser inside Kali Linux and log into your firewall dashboard at [https://10.0.0.1](https://10.0.0.1) (Default credentials: admin / pfsense—change these immediately).
View Traffic Drops: Go to Status > System Logs > Firewall. Watch real-time log entries show allowed, blocked, or dropped packets as you run Nmap scans.
Packet Capture: Go to Diagnostics > Packet Capture. Set the interface to LAN, launch an exploit attempt from Kali, stop the capture, and download the raw .pcap file. Open it in Wireshark to dissect payload signatures, unencrypted credentials, and handshake mechanics.
Building a Proxmox and pfSense home lab forces you to move past simplistic desktop sandboxes. You get a flexible, isolated environment that mirrors actual enterprise security architectures. You control the routing, you see the raw traffic, and you face real firewall constraints.
Now that the core lab is up and running, expand its capabilities:
Segment via VLANs: Configure tagged VLANs inside pfSense (e.g., VLAN 10 for Attackers, VLAN 20 for Targets, VLAN 30 for Infrastructure) and practice writing cross-subnet access control lists (ACLs).
Deploy Inline IDS/IPS: Install packages like Suricata or Snort inside pfSense to inspect traffic and actively block malicious payloads.
Add Centralized Logging: Spin up a dedicated VM running Wazuh or an Elastic Stack (ELK). Ship syslogs from pfSense and event logs from target VMs to build an operational Security Operations Center (SOC) dashboard.

